I’ve been there—standing in the middle of a sun-soaked yard, ready to tackle the day’s chores, only to be stopped short by a broken pull cord. It’s frustrating, no doubt, but let me assure you, it’s not the end of the world. Learning how to replace a lawn mower pull cord is easier than you might think, and it’s a skill that every homeowner should have. The pull cord is the lifeline of your mower, sparking the engine that powers through your grass. When it snaps, it feels like your plans are ruined, but with the right tools and a clear guide of Best Lawn Mower For Hills on how to replace a lawn mower pull cord, you can fix it yourself. This simple repair will save you time and money and get your mower back in action so you can keep your lawn looking its best.
Identifying the Problem: Is It Really a Pull Cord Problem?
Check Before You Panic
Before diving into the repair, let’s make sure the pull cord is actually the issue. When you yank on that cord, does it resist? Does it snap back or stay limp? These are telltale signs of trouble, but they don’t always point to a broken cord. Sometimes, debris can jam the recoil mechanism, or the cord might just be stuck. So, before you panic and start dismantling the mower, give it a thorough check. Look for any visible wear on the cord, listen for any unusual sounds, and, most importantly, make sure the mower is off and cooled down before you begin.

Before assuming the pull cord is broken, check for jams or other issues first
Troubleshooting Tips
I always like to run through a quick checklist before committing to any repairs. First, ensure the brake isn’t engaged—this can lock the cord in place. Next, clear out any debris around the blade or recoil housing that could be causing the jam.
If the cord still won’t budge, it’s time to take a closer look. Carefully remove the starter housing to inspect the cord and recoil spring. If everything checks out but the cord remains stuck or broken, you’ve likely pinpointed the problem. Remember, safety comes first: always disconnect the spark plug and wait for the engine to cool before starting your inspection.
Gathering Your Tools and Materials: What You’ll Need
Essential Tools for the Job
When preparing to learn how to replace a lawn mower pull cord, the first step is making sure you have the right tools at your disposal. I always recommend starting with a flathead screwdriver, needle-nose pliers, and a nut driver. These tools are essential for accessing the starter housing and removing the damaged pull cord.
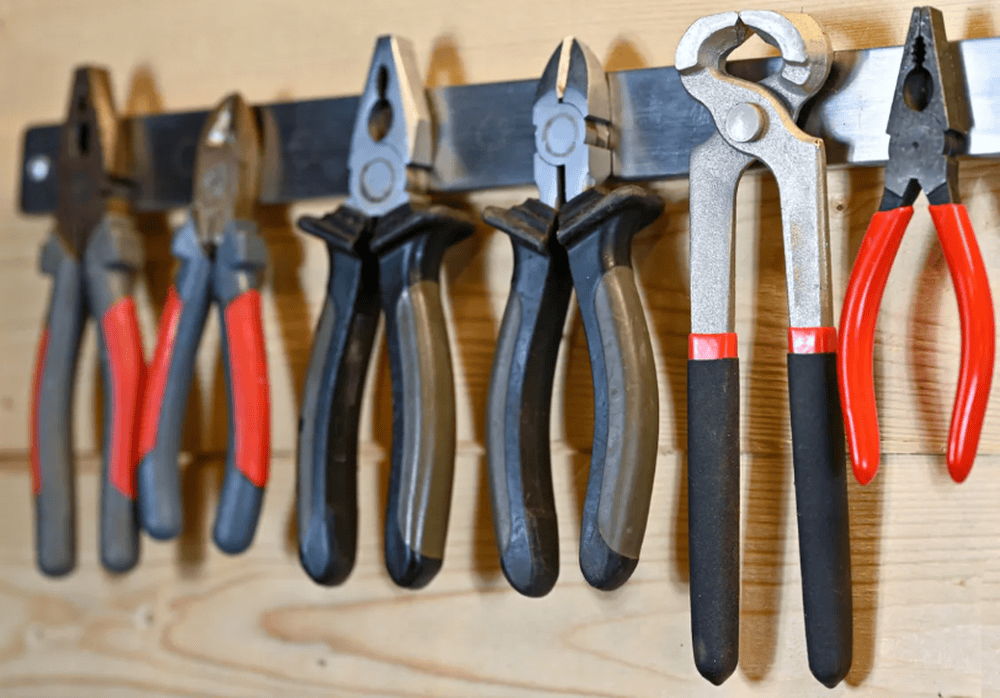
Essential tools for replacing a lawn mower pull cord: screwdriver, pliers, nut driver
To protect your hands from any sharp edges, a good pair of gloves is also a must. If you don’t have these specific tools, a basic wrench or socket set can work in place of the nut driver. Being prepared ensures that the process of replacing your lawn mower pull cord goes smoothly and efficiently.
Choosing the Right Pull Cord
Choosing the correct replacement cord is a critical step in the process of how to replace a lawn mower pull cord. The pull cord you select needs to be the right thickness and length to fit your mower perfectly. Typically, a cord with a diameter of 5/32-inch or 3/16-inch is ideal for most mowers, but it’s always wise to consult your mower’s manual.
I suggest opting for cords made from durable materials like Dacron or Kevlar for their strength and long-lasting performance. Brands such as Oregon and Stens are highly reliable and can be easily found online or at your local hardware store. Ensuring you have the right pull cord will make your repair a success and keep your mower in top working condition.
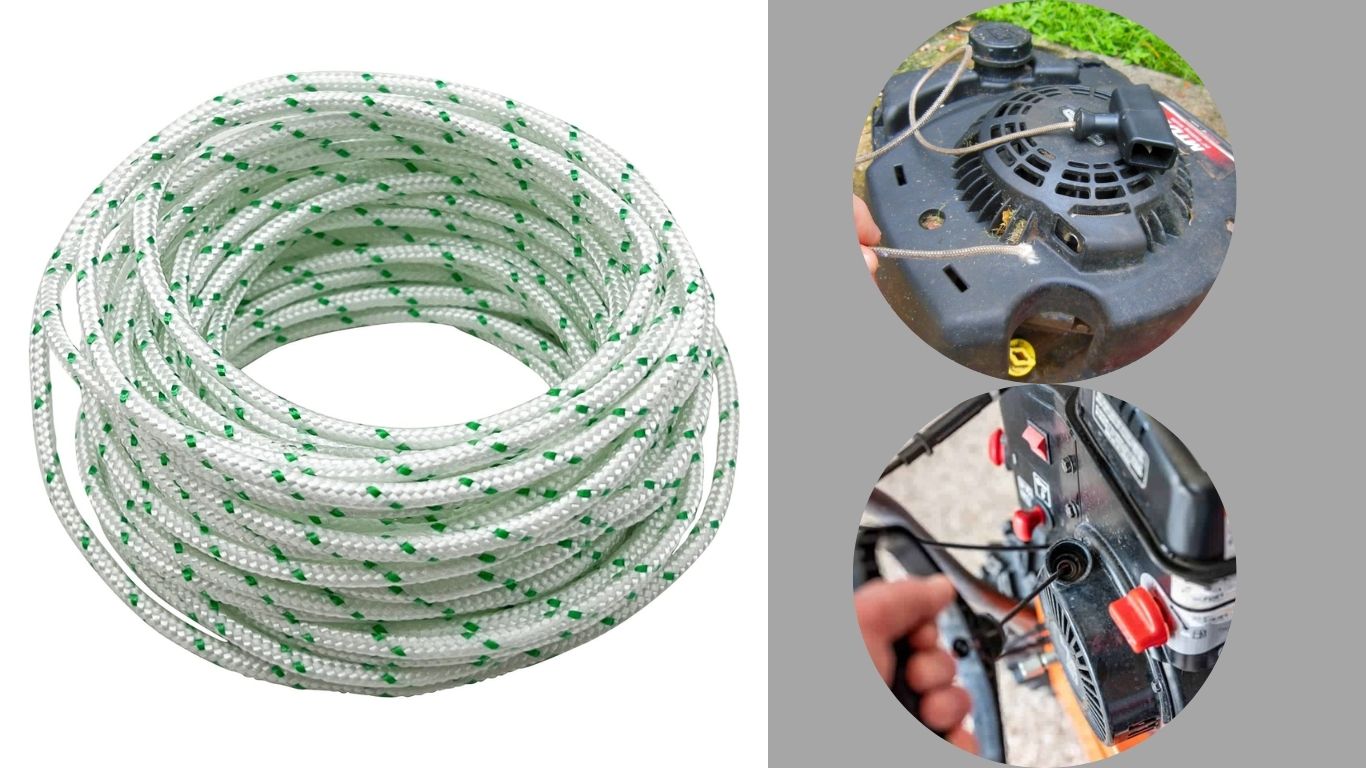
Choosing the Right Pull Cord for Lawn Mower
Safety First: Preparing Your Mower for Repair
Cooling Down and Disconnecting
Before you even think about reaching for your tools, there’s something critical you need to do: make sure your mower is safe to work on. I can’t stress enough the importance of letting the engine cool down completely before starting any repairs. A hot engine is not only dangerous, but it can also lead to unintended burns or other injuries.
Once the engine is cool, your next step is to disconnect the spark plug. This might seem like an extra precaution, but it’s one that could save you from a nasty shock or an accidental start-up while you’re working. Trust me, taking these simple steps will set you up for a safer, smoother repair.
Workspace Setup
Now that your mower is safe to handle let’s talk about your workspace. I always find it easier to work in a clean, well-lit area where everything I need is within arm’s reach. Whether you’re in your garage or out on the driveway, make sure you have plenty of space to lay out your tools and parts.
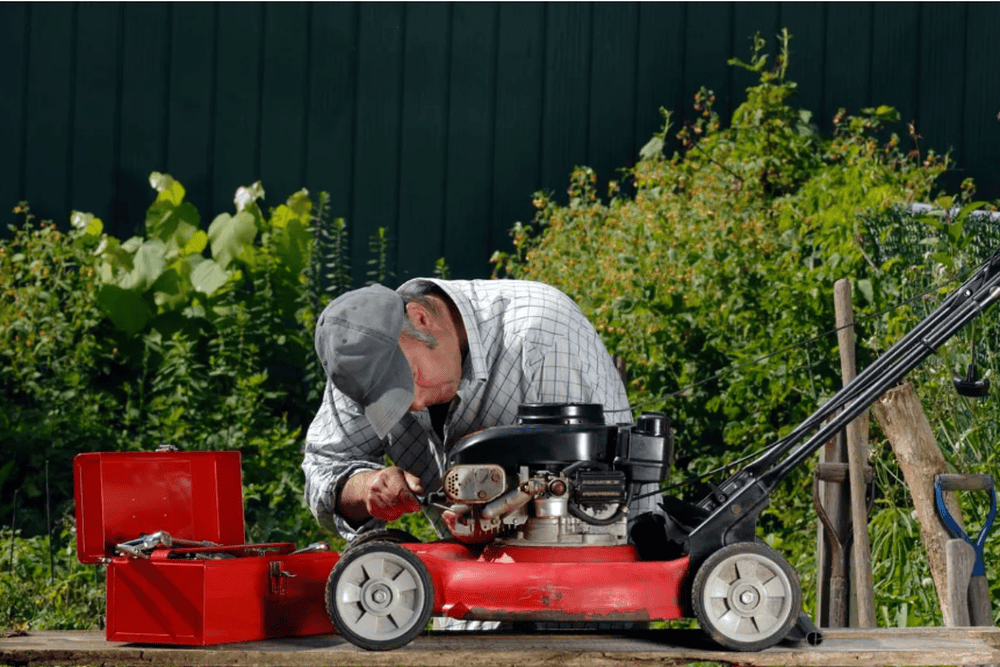
Set up a clean, well-lit workspace with tools and parts easily accessible for efficient mower repair
Small parts, like screws, have a tendency to roll away and disappear, so I like to keep a small container or magnetic tray handy to avoid losing anything important. By setting up a tidy, organized workspace, you’re not only making the repair process easier but also reducing the risk of mistakes or accidents.
Step-by-Step Guide: How to Replace Lawn Mower Pull Cord
Step 1: Removing the Starter Housing
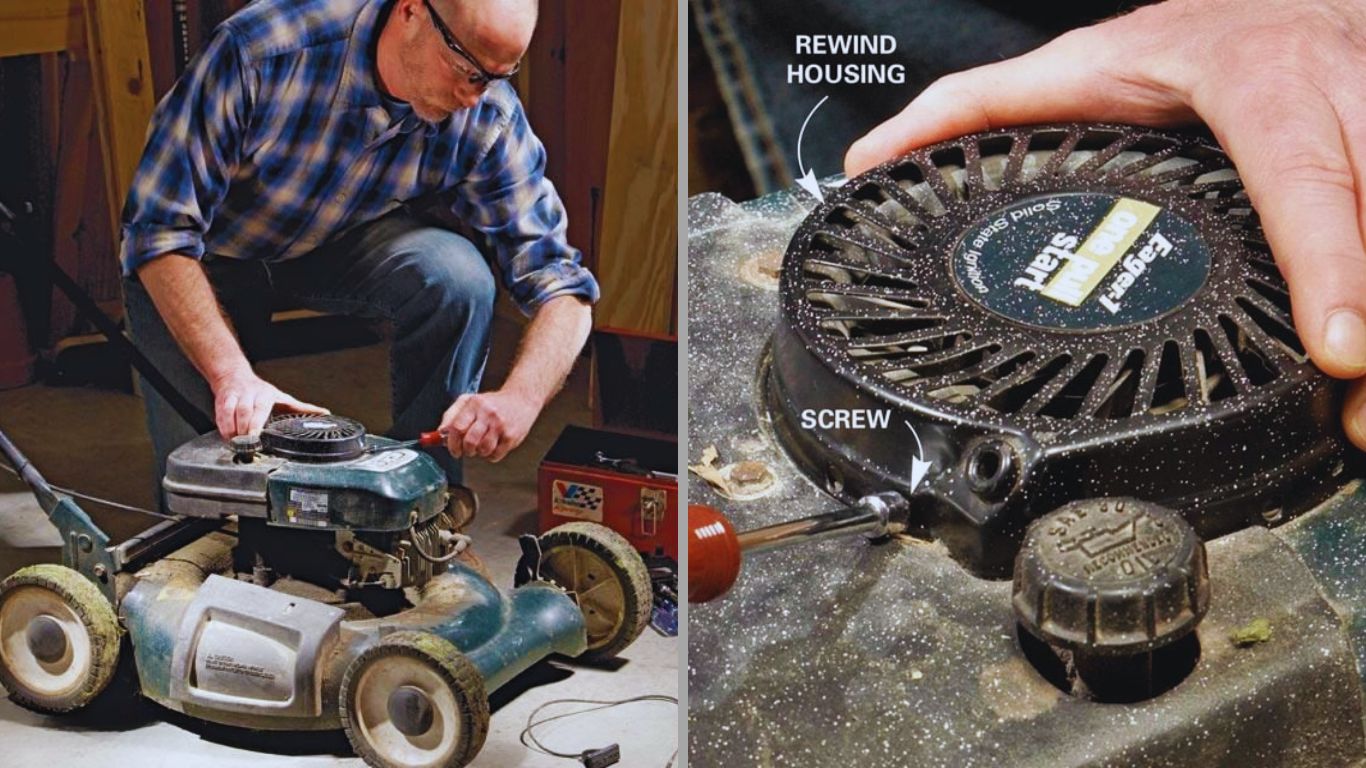
Removing the lawn mower starter housing to access the recoil mechanism.
To start the process of how to replace a lawn mower pull cord, the first thing you need to do is remove the starter housing. This might sound straightforward, but it’s a critical step. Locate the bolts or screws holding the housing in place—these are usually found on top of the mower. Using a flathead screwdriver or a nut driver, carefully unscrew them. If the bolts are stubborn, apply a bit of penetrating oil to loosen them up.
Keep track of the screws by placing them in a small container; losing one could add unnecessary time to the job. Once all the screws are out, gently lift the housing off, revealing the recoil mechanism underneath.
Step 2: Removing the Broken Cord
With the housing removed, it’s time to deal with the broken pull cord. This step requires a bit of finesse to avoid disturbing the recoil spring, which can be tricky to reassemble if it uncoils. First, locate the remaining length of the cord inside the recoil mechanism. Use needle-nose pliers to gently pull out the broken cord.
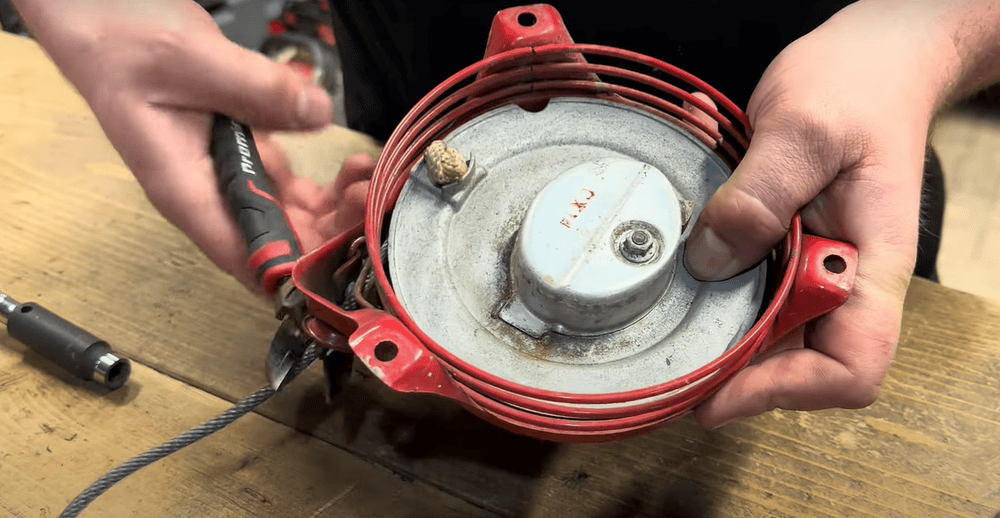
Carefully remove the broken pull cord without disturbing the recoil spring to avoid reassembly issues
If the cord is stuck, avoid yanking it—this could cause the spring to uncoil. Instead, carefully maneuver it free, ensuring the spring stays in place. Once the cord is out, dispose of it and prepare for the next step.
Step 3: Measuring and Cutting the New Cord
Now that the old cord is removed, the next step in how to replace a lawn mower pull cord is to measure and cut the new cord. Lay the new cord next to the old one to ensure it’s the correct length. It’s better to cut it slightly longer than needed; you can always trim excess later. After cutting, seal the ends with a lighter to prevent fraying—a small step that goes a long way in ensuring the cord’s durability.
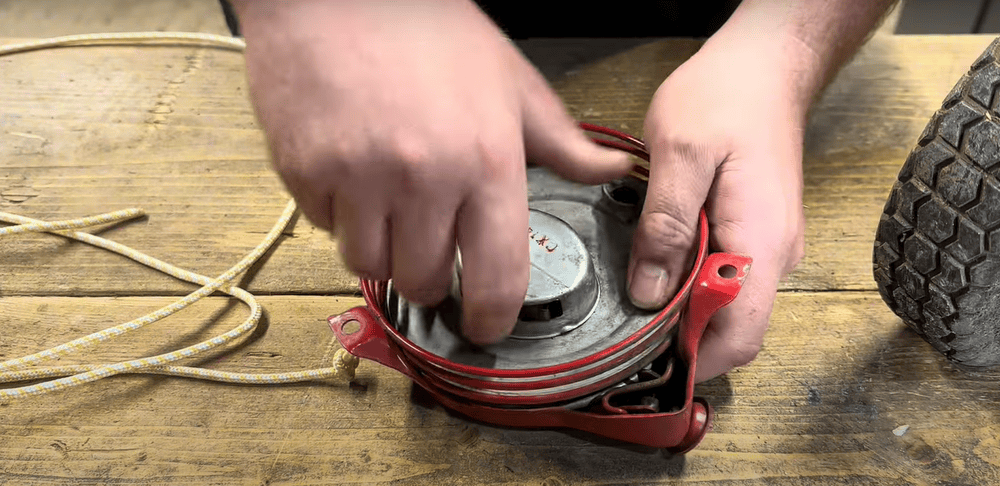
Measure, cut, and seal the new pull cord to the correct length, ensuring durability
Step 4: Threading and Securing the New Cord
Threading the new cord through the recoil mechanism is a delicate task but crucial to the proper functioning of your mower. Start by feeding the cord through the hole in the recoil housing, then through the starter handle. Once threaded, tie a secure knot at the end of the cord to keep it from slipping through.
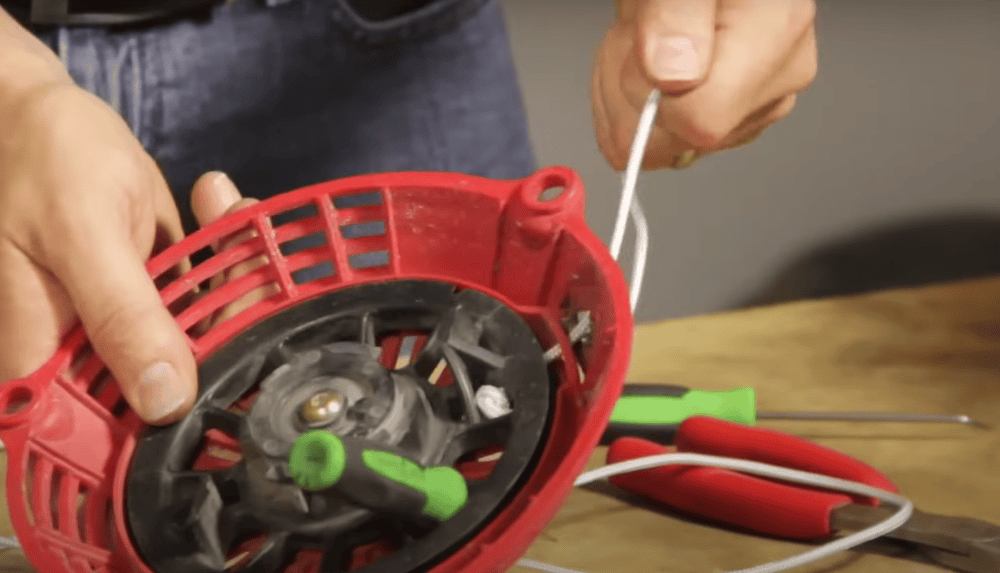
Carefully thread the new pull cord through the recoil housing and handle, securing it with a strong knot
Next, wind the recoil spring by turning the pulley in the direction the cord would pull. This tensions the spring, allowing it to retract the cord smoothly. Be careful to keep your fingers clear of the spring as you wind it to avoid injury.
Step 5: Reassembling the Mower
With the new cord securely in place, it’s time to reassemble the mower. Position the starter housing back onto the mower and align it with the bolt holes. Reinsert the screws and tighten them securely using your screwdriver or nut driver.
Once everything is back in place, give the cord a few test pulls to ensure it retracts properly and the mower starts as expected. This final step of how to replace a lawn mower pull cord ensures your mower is ready to get back to work, keeping your lawn in pristine condition.
Testing and Troubleshooting: Did It Work?
Initial Test Run
After following all the steps on how to replace a lawn mower pull cord, the moment of truth arrives. I always recommend giving the cord a few slow, deliberate pulls first, just to feel how it moves. You should notice a smooth retraction with no snags or resistance. Once you’re confident, pull the cord firmly to start the engine. Listen carefully to how the engine responds—does it roar to life, or is it struggling?
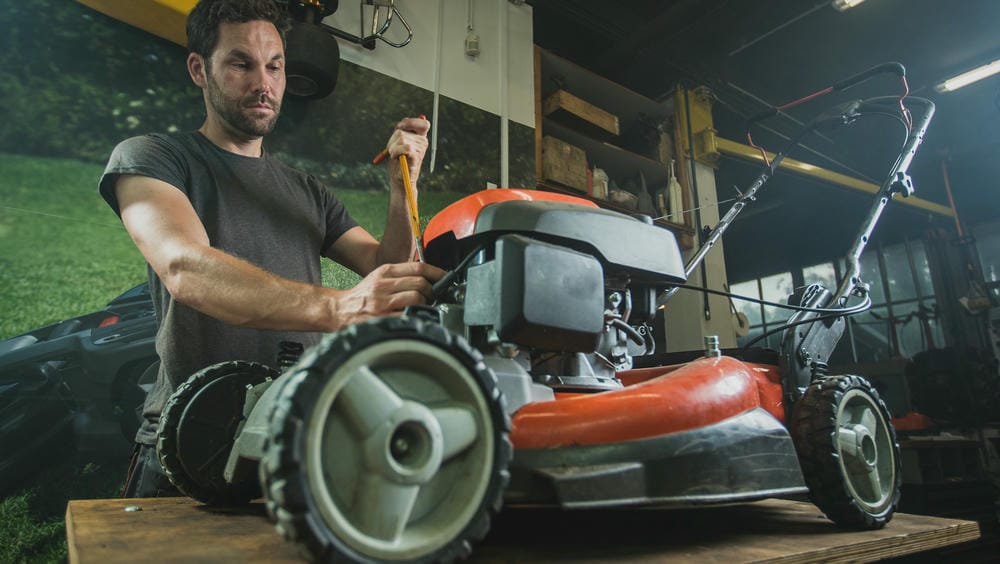
Test the new pull cord with slow pulls, ensuring smooth retraction before starting the engine
If it starts easily, you’ve done everything right. However, if the engine hesitates or the cord feels stiff, don’t worry; you might just need to make a few adjustments.
Troubleshooting Common Issues
Sometimes, even when you think you’ve nailed it, issues can arise. If the cord doesn’t retract properly, it could mean the recoil spring wasn’t tensioned enough. In this case, you might need to remove the housing and give the spring another wind.
On the other hand, if the mower doesn’t start, double-check the spark plug connection and ensure there’s fuel in the tank. If all else fails, revisit the steps on how to replace a lawn mower pull cord—there might be something you missed. Remember, patience and careful troubleshooting are key to getting your mower back in top shape.
DIY vs. Professional Help: Should You Call in the Pros?
Assessing Your Comfort Level
When it comes to deciding whether to replace your lawn mower pull cord yourself or call in a professional, I think it’s important to assess your own comfort level with DIY repairs. If you’re handy with tools and enjoy tackling projects around the house, this repair can be a straightforward task.
However, if you’re not confident in your ability to follow the steps or if the thought of dealing with recoil springs makes you uneasy, it might be better to leave it to a professional. Consider how much time you have, your patience for detail-oriented tasks, and whether you have the necessary tools on hand. For those who prefer not to get their hands dirty, hiring a professional might save you some stress.
Cost Comparison
Now, let’s talk about the costs. Doing it yourself is usually the cheaper option—pull cords are inexpensive, typically ranging from $10 to $20, and most people already have the basic tools required. If you need to buy tools, that could add to the cost, but they’re a one-time investment. On the other hand, hiring a professional can cost anywhere from $50 to $100, depending on your location and the repair shop. It’s a trade-off between saving money and saving time.
If you’re on a tight budget and have a bit of DIY spirit, replacing the pull cord yourself is a cost-effective choice. But if time is of the essence or you’re concerned about doing it correctly, the extra expense of professional help might be worth it.
Maintaining Your Lawn Mower: Preventing Future Cord Breaks
Regular Maintenance Tips
I believe that preventing future issues is always better than having to fix them later. When it comes to how to replace a lawn mower pull cord, a little maintenance can go a long way. I suggest regularly inspecting the pull cord for signs of wear, such as fraying or thinning. If you notice any damage, it’s best to replace the cord before it snaps at the worst possible moment.

Regularly inspect the pull cord for wear and replace it before it breaks to avoid unexpected issues
Additionally, always store your mower in a dry, sheltered place to protect it from the elements, which can degrade the cord over time. Keep the engine clean and free of debris, as this can also affect the cord’s lifespan. Regularly checking and maintaining these small details can save you a lot of hassle down the line.
When to Replace Again
Understanding the typical lifespan of a pull cord is key to avoiding unexpected breakdowns. Generally, a pull cord should last a few years under normal use, but this can vary depending on how often you mow and the conditions in which your mower is stored. I recommend replacing the cord at the first sign of significant wear or if it becomes noticeably difficult to pull.
Being proactive about these replacements ensures that you won’t be caught off guard in the middle of your lawn care routine. Remember, staying ahead of these small repairs keeps your mower in top condition and your lawn looking its best.
Where to access reputable information on lawn mower maintenance and repair
Our Best Lawn Mower For Hills website is the ultimate resource for anyone looking to master lawn care on hilly and uneven terrains. We believe in the power of real-world testing. That’s why we put every lawn mower through its paces on actual hills and uneven ground, providing you with unbiased reviews based on practical performance.
We’re more than just a website—we’re a community of lawn care enthusiasts. Our platform is a place where you can share your experiences, ask questions, and get advice from other like-minded individuals. Whether you’re looking for in-depth product reviews, step-by-step buying guides, or expert tips on lawn mower maintenance, Best Lawn Mower for Hills has you covered. Our mission is to help you find the perfect lawn mower for your unique needs and ensure that lawn care is a rewarding and enjoyable experience.
Conclusion
I know that tackling repairs can feel daunting, especially when your lawn mower’s pull cord snaps just when you need it most. But with the right tools and a clear guide of Best Lawn Mower For Hills on how to replace a lawn mower pull cord, you’re more than capable of getting the job done yourself. I believe in empowering homeowners like you to take control of these small but essential tasks.
Once you’ve completed the repair, you’ll not only have a working mower but also the satisfaction of knowing you handled it on your own. Remember, it’s all about being prepared and taking each step methodically. With a bit of patience and determination, you’ll have your mower back up and running, ready to tackle whatever your lawn throws at you next.
